Hey there, fellow lawn enthusiasts! I'm a supplier of top - notch 4wd Lawn Mowers, and today I'm gonna share with you how to clean the carburetor of a 4wd lawn mower.
First off, let's talk a bit about why cleaning the carburetor is so important. The carburetor is like the heart of your lawn mower. It mixes air and fuel in the right proportion so your mower can run smoothly. Over time, dirt, debris, and old fuel can build up in the carburetor, causing all sorts of problems like rough idling, stalling, or even preventing the mower from starting at all.
Pre - cleaning Preparations
Before you start cleaning the carburetor, there are a few things you need to do. Safety first! Make sure the lawn mower is turned off and has cooled down completely. You don't want to burn yourself on a hot engine. Also, disconnect the spark plug wire. This will prevent the engine from accidentally starting while you're working on it.
Next, gather your tools. You'll need a set of screwdrivers, a carburetor cleaner, a small brush (like an old toothbrush), a container to soak parts in, and some rags. Having everything ready will make the cleaning process go a lot smoother.
Removing the Carburetor
Now, it's time to get to work on removing the carburetor. The location of the carburetor can vary depending on the model of your 4wd lawn mower, but it's usually near the engine. First, find the fuel line that's connected to the carburetor. Use a pair of pliers to loosen the clamp on the fuel line and gently pull the line off. Be careful, there might still be some fuel in the line, so have a rag handy to catch any drips.
Next, remove the air filter housing. This is usually held in place by a few screws or clips. Once the housing is off, you can see the carburetor more clearly. There are likely several screws holding the carburetor in place. Use your screwdriver to remove these screws. Make sure to keep track of them, as you'll need to put them back later.
After removing the screws, carefully lift the carburetor out of the mower. It might be a bit tricky because there could be some small hoses or cables attached. Just take your time and gently disconnect them one by one.
Disassembling the Carburetor
Once you've removed the carburetor, it's time to disassemble it. Start by taking off the float bowl. This is usually held on by a few screws. Remove the screws and carefully lift the float bowl off. Inside the float bowl, you'll see a float and a needle valve. These parts can get dirty and cause problems if they're not working properly.
Next, remove the jets. The jets are small holes that control the flow of fuel into the carburetor. They can easily get clogged with dirt and debris. Use a small screwdriver or a jet removal tool to carefully remove the jets. Be very gentle, as the jets are delicate and can break easily.
Cleaning the Carburetor Parts
Now that you've disassembled the carburetor, it's time to clean the parts. First, soak the float bowl, jets, and any other removable parts in a container filled with carburetor cleaner. Let them soak for at least 30 minutes. This will help dissolve any dirt, gum, or varnish that's built up on the parts.
While the parts are soaking, use a brush and some carburetor cleaner to clean the outside of the carburetor body. Pay special attention to the small passages and holes. Use the brush to gently scrub away any dirt or debris.
After the parts have soaked, take them out of the cleaner and rinse them thoroughly with clean water. Make sure all the cleaner is removed. Then, use a compressed air can or an air compressor to blow out any remaining water or debris from the parts. This is especially important for the jets, as any blockage can affect the fuel flow.
Reassembling the Carburetor
Once the parts are clean and dry, it's time to reassemble the carburetor. Start by installing the jets. Make sure they're inserted correctly and tightened securely. Then, put the float and needle valve back into the float bowl. Reattach the float bowl to the carburetor body and tighten the screws.
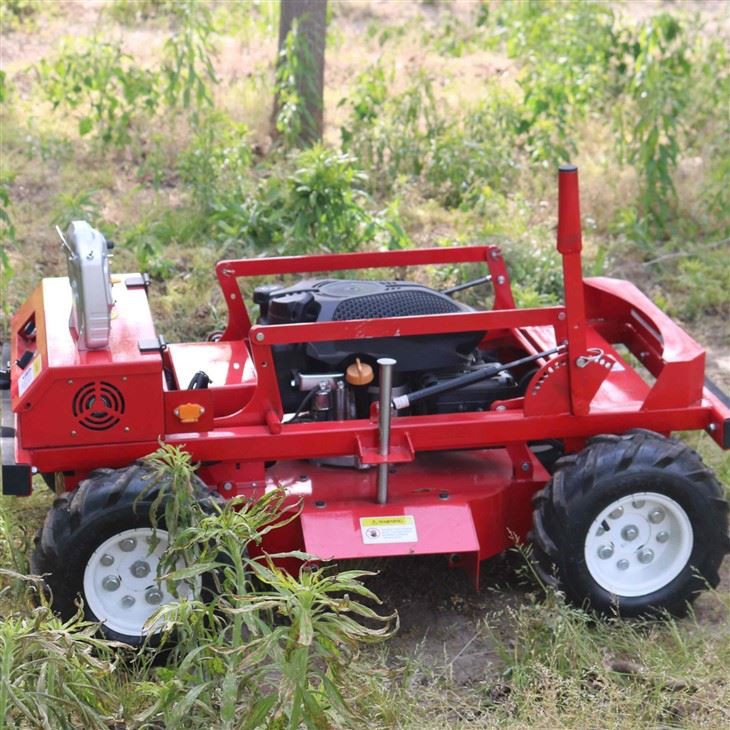

Next, reconnect any hoses or cables that you disconnected earlier. Make sure they're properly seated and tightened. Double - check all the connections to ensure there are no leaks.
Installing the Carburetor Back into the Mower
Now that the carburetor is reassembled, it's time to put it back into the lawn mower. Carefully place the carburetor back in its original position and reattach the screws. Make sure they're tightened, but don't over - tighten them, as this could damage the carburetor.
Reconnect the fuel line and make sure the clamp is tightened securely. Then, put the air filter housing back on and secure it with the screws or clips.
Testing the Mower
Before you start using your 4wd lawn mower, it's important to test it. Reconnect the spark plug wire and turn on the mower. Listen for any strange noises or vibrations. If the mower starts easily and runs smoothly, then you've done a great job cleaning the carburetor. If you notice any problems, like rough idling or stalling, double - check all the connections and make sure the carburetor is installed correctly.
At our company, we're passionate about providing high - quality 4wd Lawn Mower. We also offer Remote Lawn Mower for those who want more convenience. If you're in the market for a new lawn mower or have any questions about maintenance, feel free to reach out to us. We're here to help you keep your lawn looking great and your mower running smoothly. Whether you're a professional landscaper or a homeowner who loves a well - manicured lawn, we've got the right mower for you. Contact us today to discuss your needs and start a great partnership.
References
- Small Engine Repair Manuals
- Lawn Mower Manufacturer's Guides